
You’d expect Google Docs (the go-to choice for publishers and any content team operating at scale) and WordPress (the world’s leading CMS) to get along. But all too often, the process of transferring blog posts and content from Google Docs to WordPress can be long, tedious, and fraught with difficulties.
We’ve seen it all.
- Bugs
- Random formatting issues
- And images not loading properly.
But there is a way.
If you follow this guide – it is possible to prevent all of these errors and move your blog posts from Google Docs to WordPress in less than five minutes.
Here is our step-by-step process:
The Classic WordPress Editor Was A Pain
In past experience, if you were looking to minimize formatting issues, unnecessary line breaks, or span styles, you’d have to ditch the default WP editor.
But of course, rather helpfully (sarcasm 😅), the default WP editor didn’t allow you to copy and paste images across.
Note: Ideally, you wanted to upload images separately anyway, as you’d need to compress them and add a relevant name for SEO purposes.
Fortunately, since the release of WordPress 5.0, the block editor is now the default editor.
This is super convenient since the new block editor eliminates all of the issues above. No unnecessary code, formatting issues, or random line breaks.
Everything looks virtually the same as in your Google Docs.
So – without further ado – let’s take a look at the full process you need to follow when moving content from Google Docs to WordPress manually:
How To Move Google Docs to WordPress: The Step-By-Step Process
Here is an extremely easy process for moving blog posts from Google Docs to WordPress – even for non-technical users.
This method will ensure your posts are SEO-friendly, properly formatted, and ready to perform well.
#1: Copy the Google Doc to WordPress
Head over to your Google Doc and copy the whole content from there.
The next step is to navigate to your WordPress admin panel and click on Posts in the menu on the left. From there, click on the Add New button as shown below:

All you have to do now is to paste the content into the WordPress block editor.
However, copying images directly from Google Docs is not very SEO-friendly.
For two reasons:
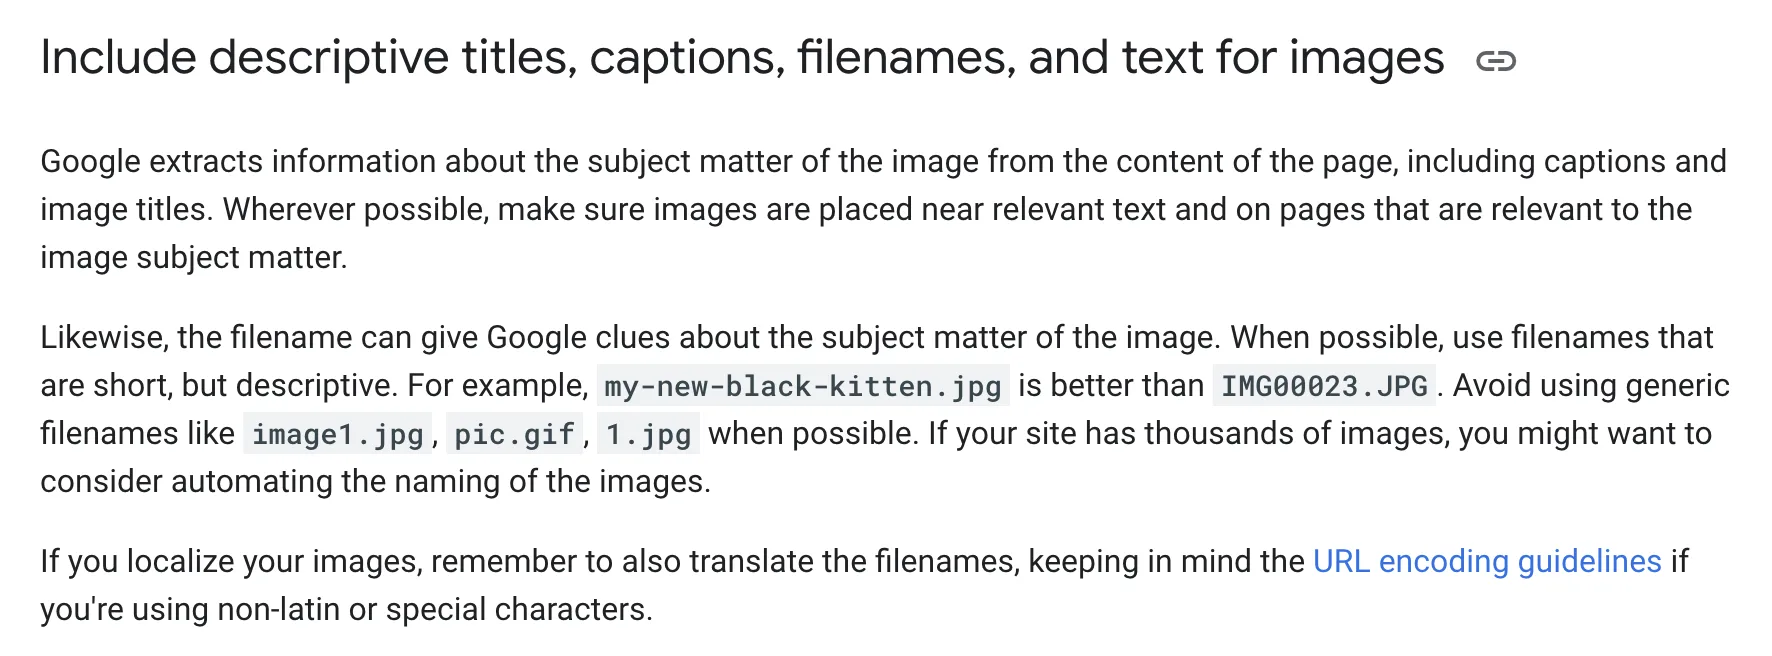
First of all, because it doesn’t allow you to change the file names of the images – which can be as bland as ‘DSF1301.jpg’.
And secondly, because it won’t actually serve the media from your site – it will serve it from Google’s content delivery network (which is something you want to avoid for a whole host of reasons).
So, to prevent this, you have to actually upload the images to your WordPress site and them to your post. The quickest way to do this is to head over to your Google Doc → File → Download → Web Page.
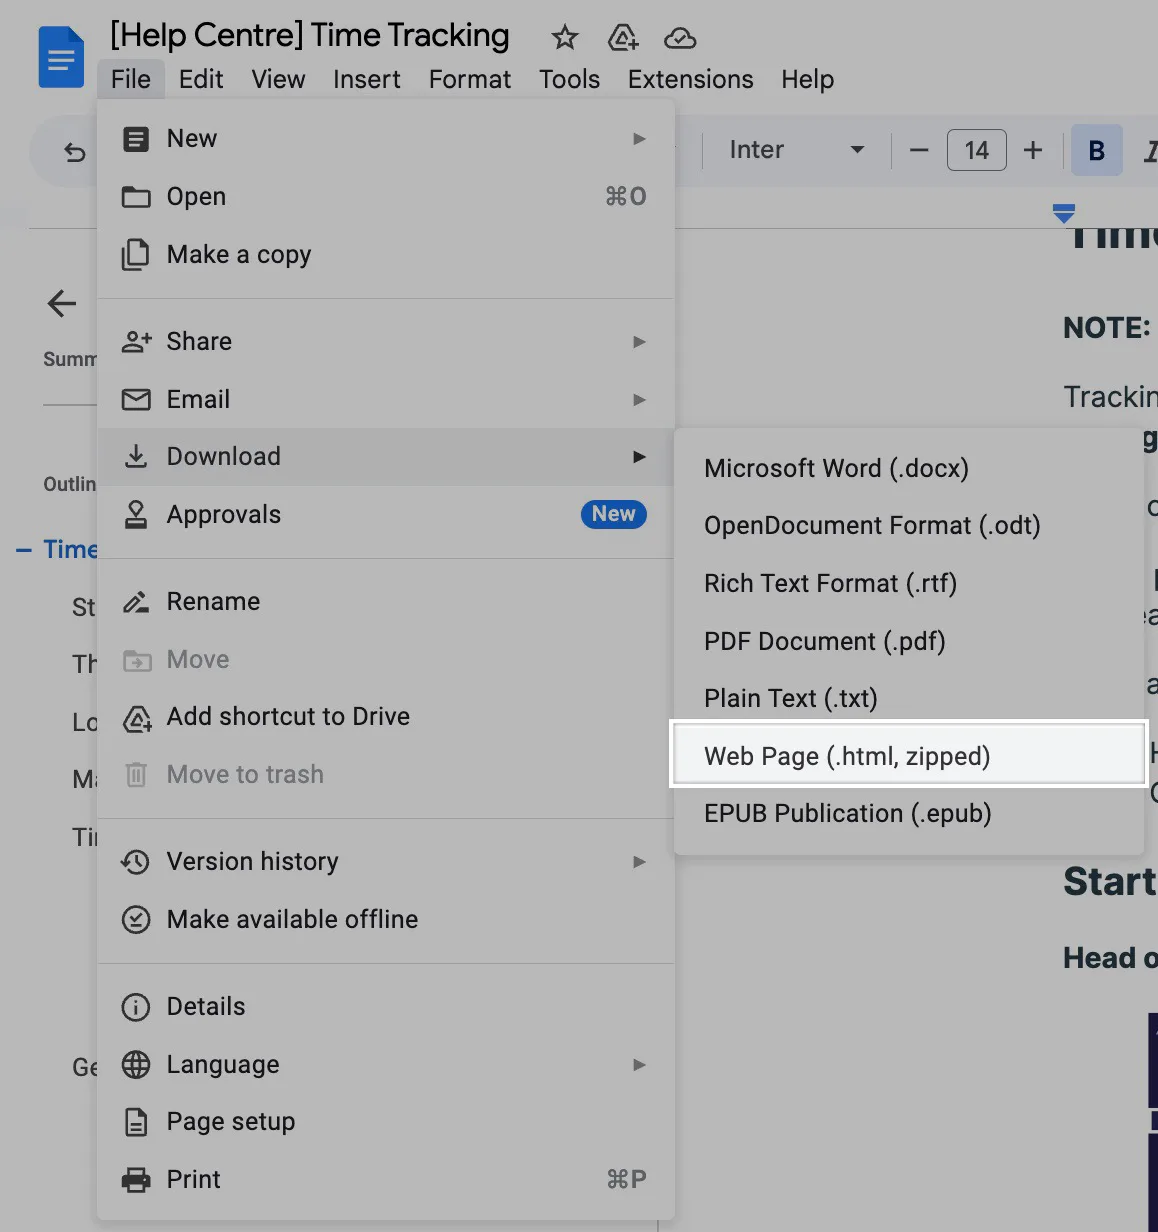
This will download the contents of your Google Doc as a zip file that will include a separate folder with all of the images in the post, as shown below:

You can then rename each image to make them SEO friendly – by simply describing what is on the image. After that, it’s time to start adding them to your post. Head over to your post in your WordPress dashboard, click on the ‘+’ icon → Image, and click Upload.
After you upload an image, it will be automatically embedded into your post.
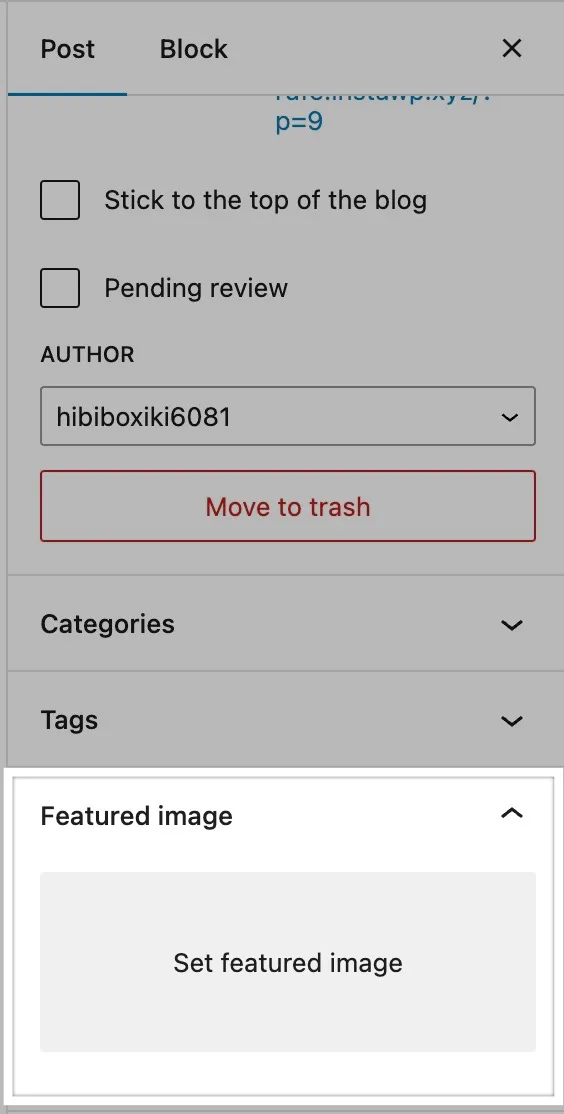
#2: Upload the Featured Image
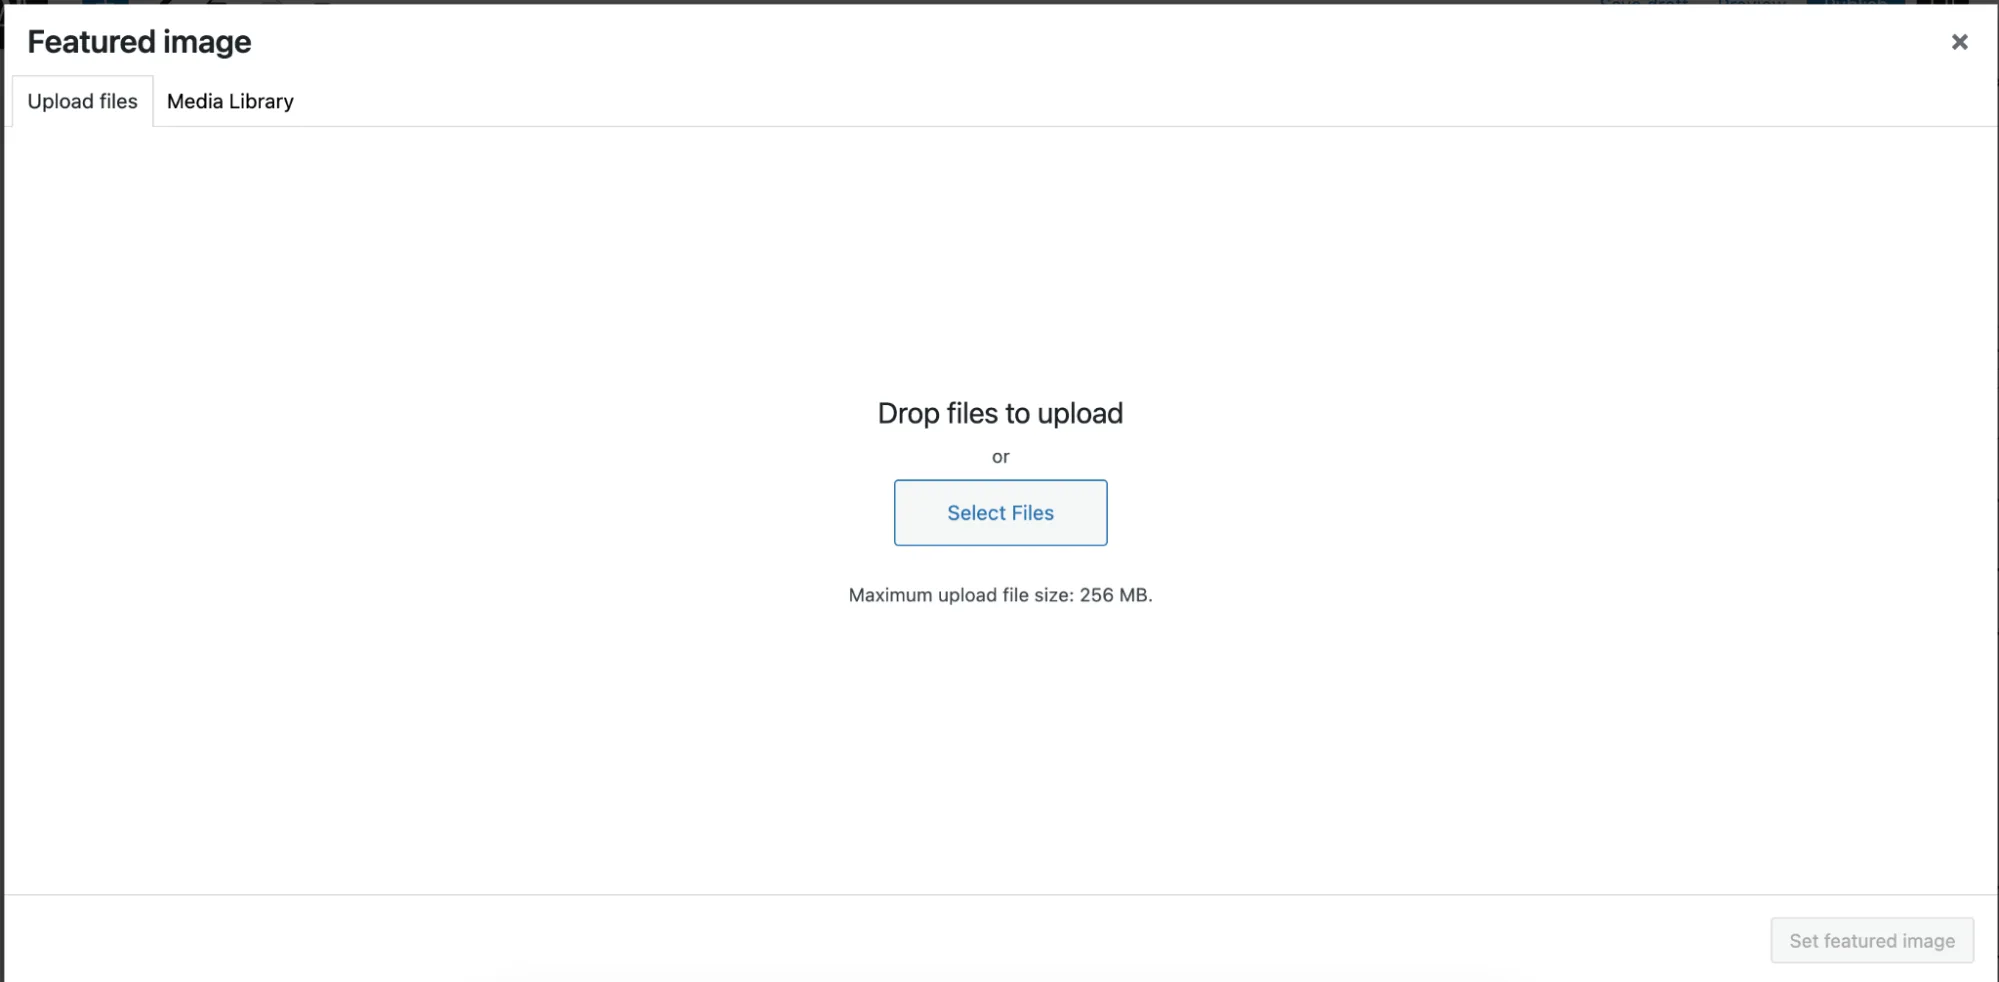
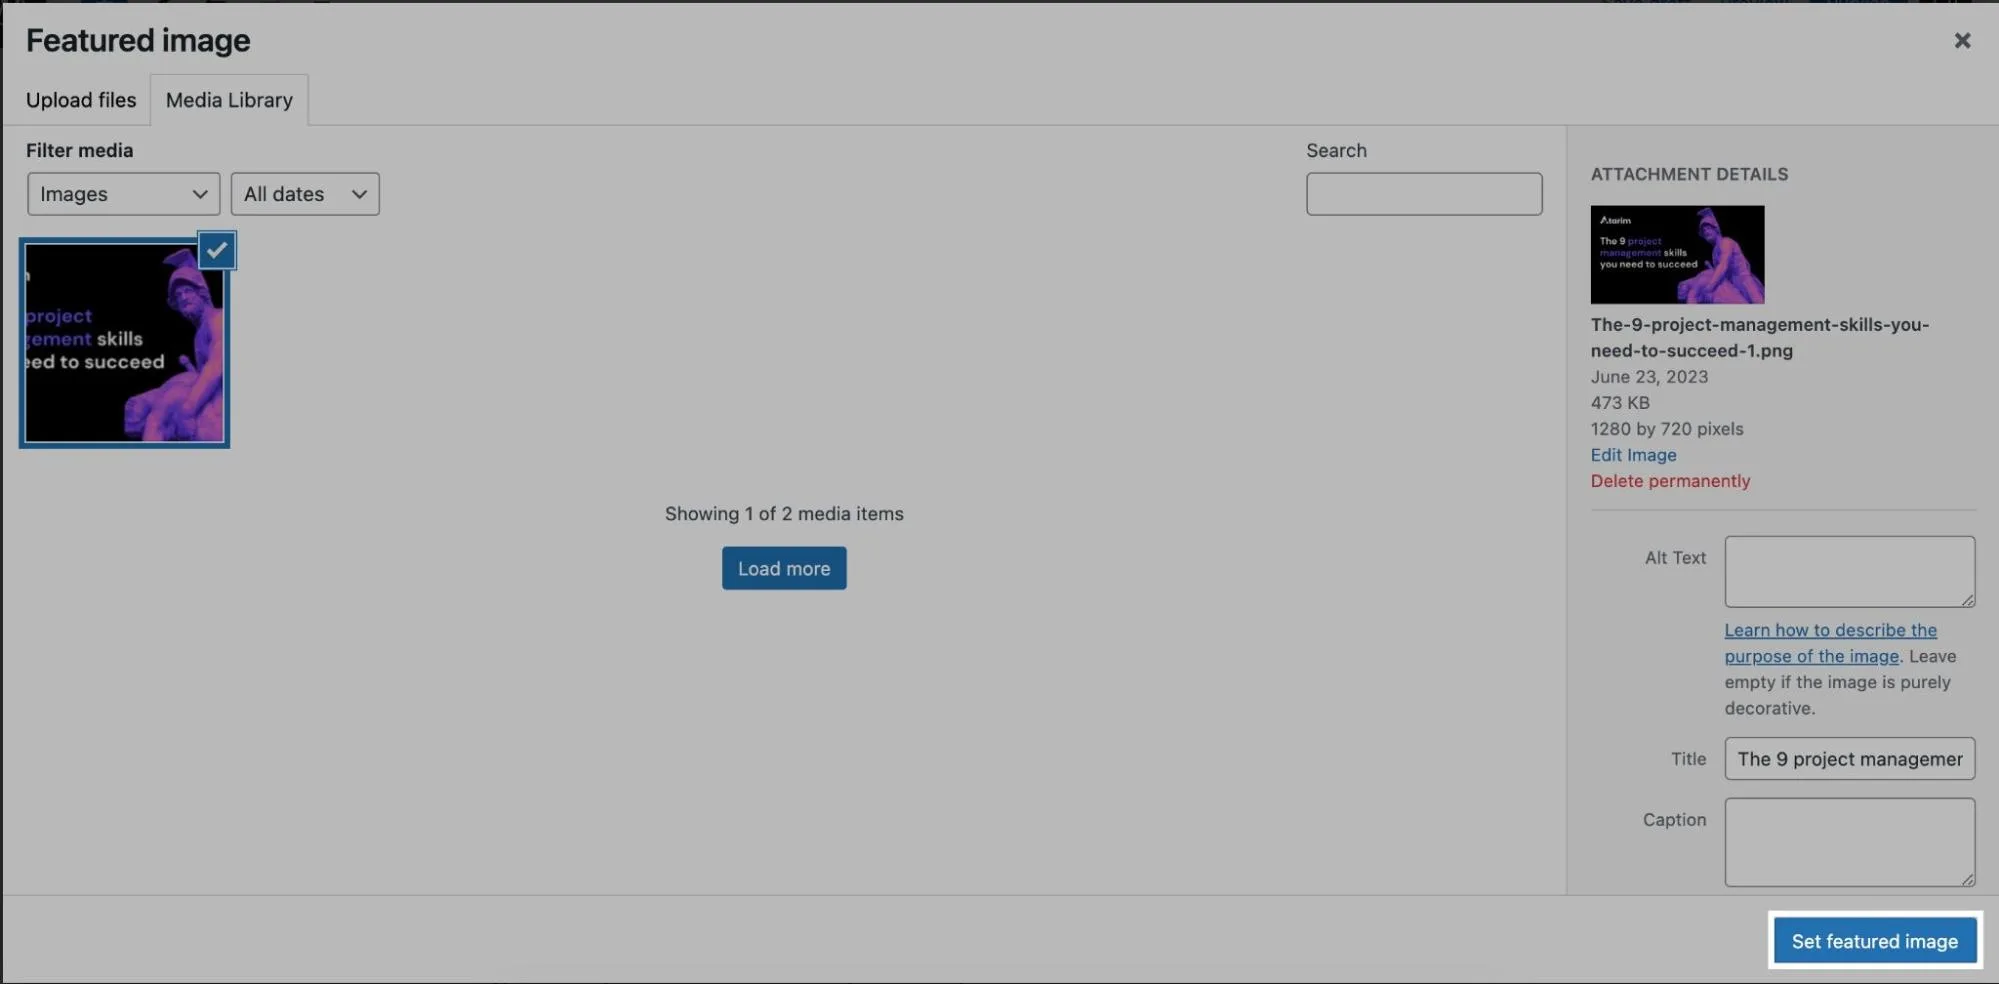
The featured image is an image on top of every blog post – it’s like a video thumbnail. To upload it to your post, click on the Featured Image tab in the right menu in the WordPress block editor.
From there, click the Select Files button and upload the featured image.
Click the Set Featured Image button – and you’re done.
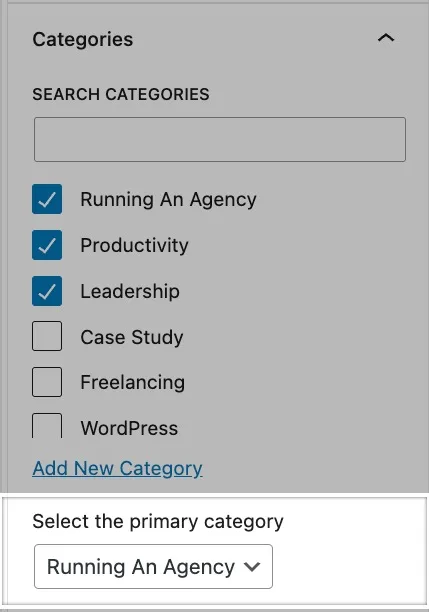
#3: Select Post Categories
The next thing is to select the blog post category.
This will help you create a better structure for your blog, organize your posts, and make it easier for readers to find what they’re looking for.
To set the category, click on the Category tab and select all suitable categories.
If you select more than one category, you’ll also have to select the default category – the one that fits the post the best.
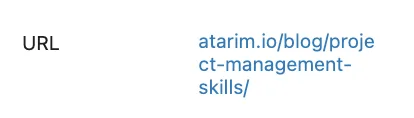
#4: Change the URL
The default URL for blog posts inside WordPress is horrible – it’s just random text.
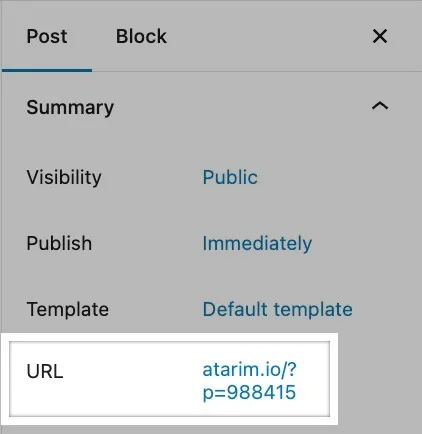
To change the default URL, you need to click on it. As you can see, the URL will change to the headline of your post.
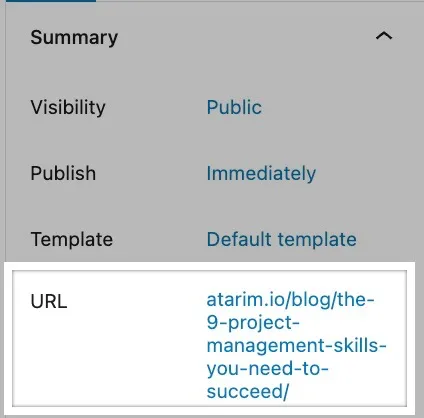
Note: If you experience any issues with the URL not being changed, all you have to do is to save the draft and/or reload the page.

You can then click on the URL and change it however you want.
We definitely recommend trimming it down and including only the most important words or phrases.
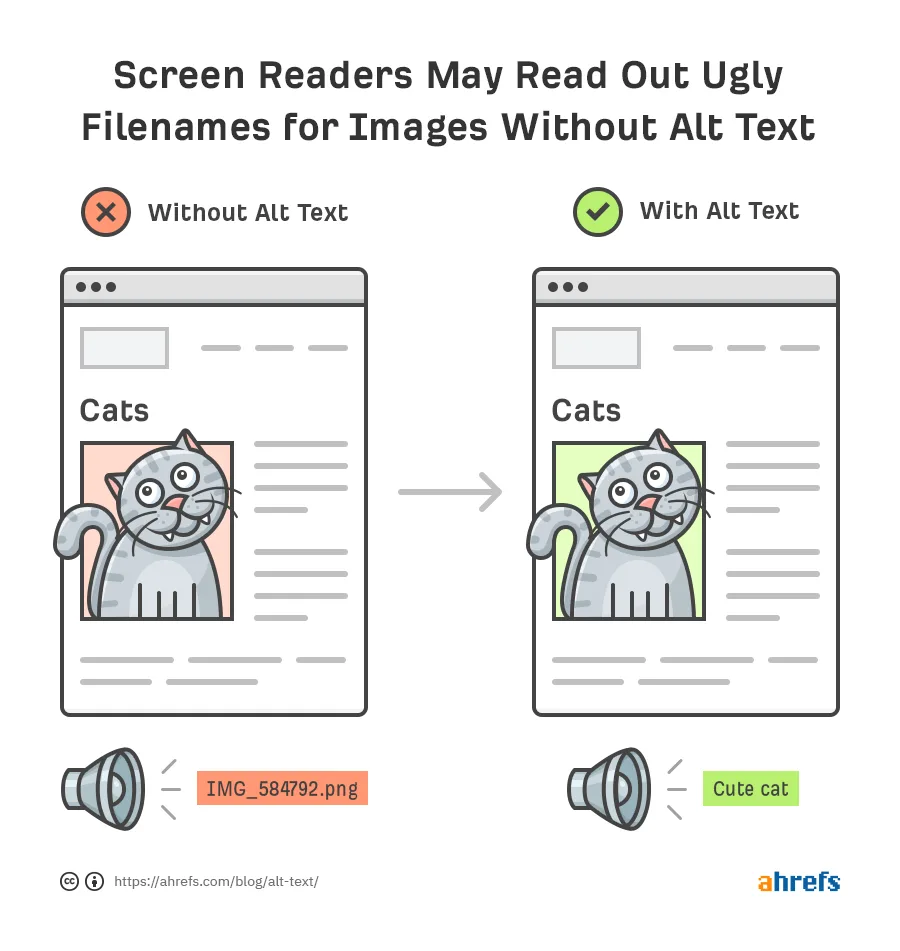
#5: Add the Alt Text
Alt text is an essential way to make your posts more accessible as well as SEO-friendly.
In essence, Alt text is text that describes the image, in the event that it doesn’t load properly or is viewed by someone who relies on using a screen reader. This information can also be seen by search engines (which, of course, have a hard time understanding the actual content of an image and therefore rely entirely on the file name and alt text).
To add the alt text, click on the image inside the WordPress post editor. From there, type in the alt text in the Alt Text (Alternative Text) field on the right.
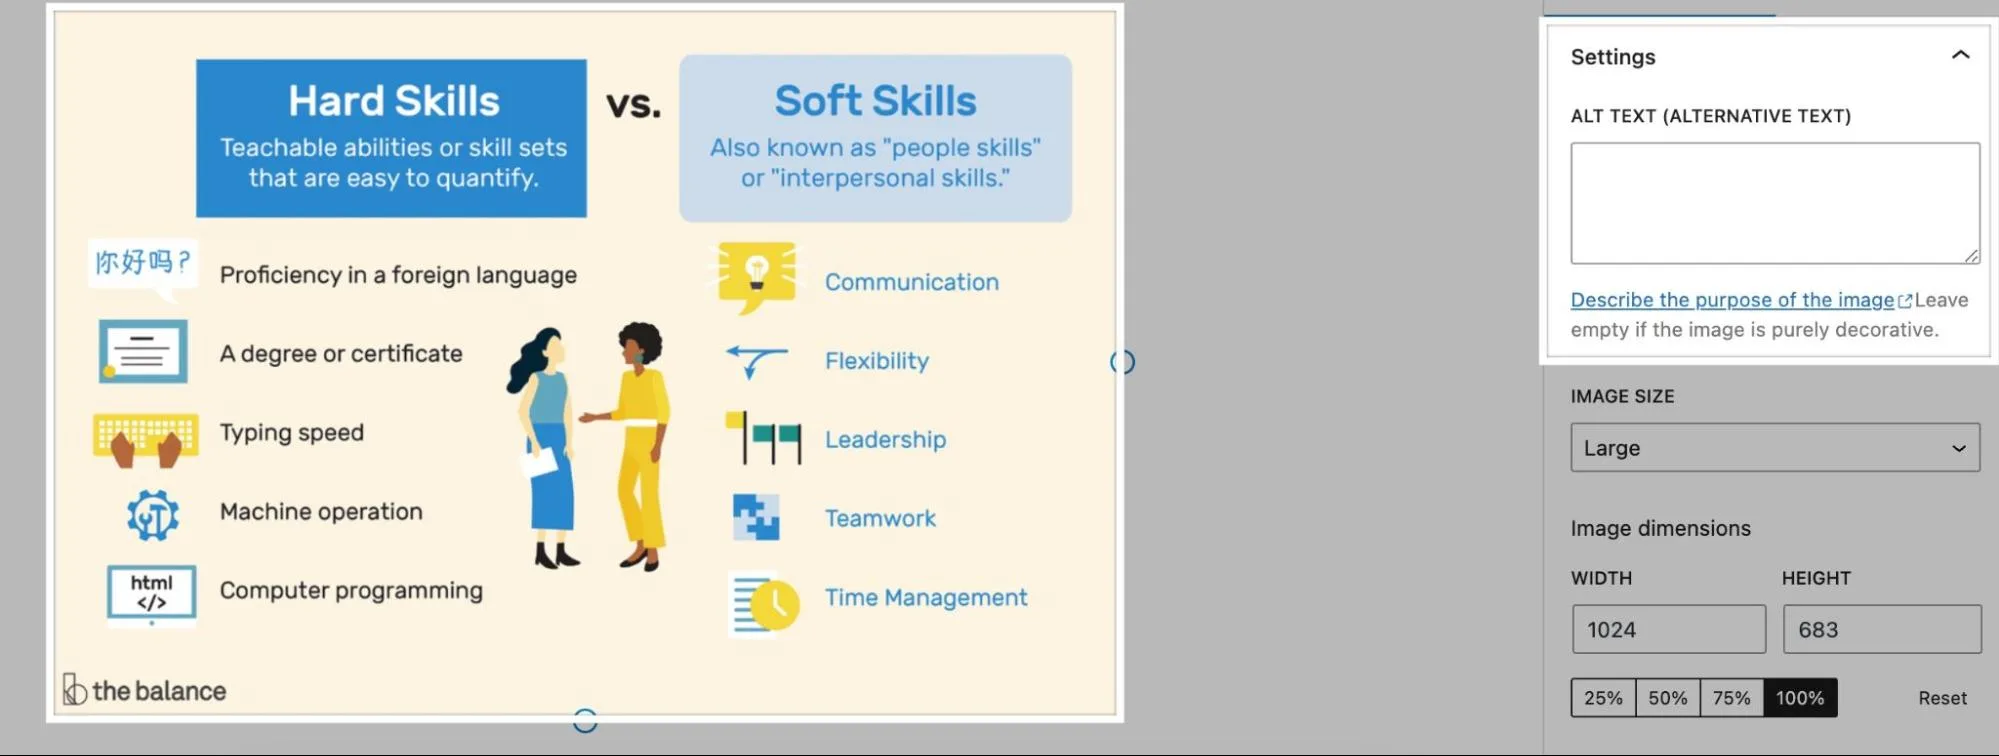
A Quick Tip: Keep it short. The alt text should describe what’s on the image. Imagine being blind and someone describing the image in a few words for you. Do not spam your image alt text with keywords!
#6: Publish the Post
We suggest you double-check all the things we’ve mentioned above before publishing the post on your website.
If everything is correct, it’s time to hit the Publish button at the top.

That’s it!
Your post is now live.
You should do one more check to make sure that there aren’t any errors or issues with publishing the live post.
Summary – You Can Now Move Google Docs to WordPress in Less Than 5 Minutes
While it isn’t complicated, and you get used to the process the more you move content from Google Docs to WordPress, a lot of people oversimplify it and skip steps.
If you want images to be served from your site, not Google’s content delivery network, to rank your content and generally want to follow best practices – follow this guide step by step.
👋 Looking for input from a team that’s worked with category-leading companies – possibly like yours? We’re here and always happy to help! Use the contact widget in the bottom right-hand corner to get in touch or apply to work with us here.